How to Make Bees Wax Wraps - You tube video
←
→
Page content transcription
If your browser does not render page correctly, please read the page content below
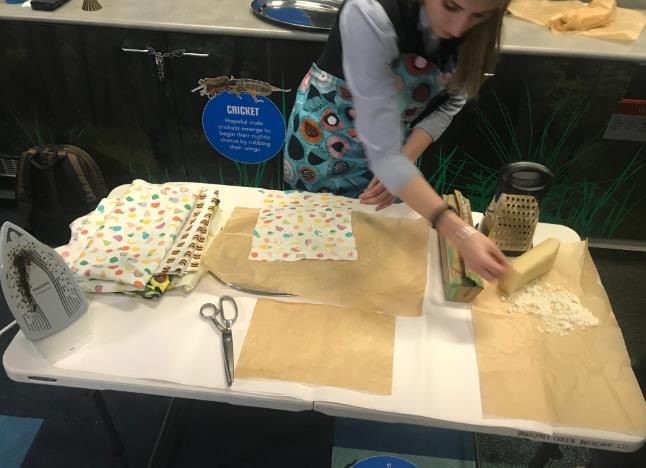
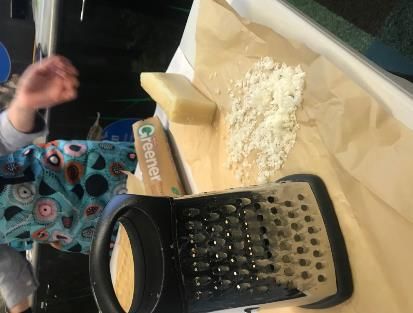
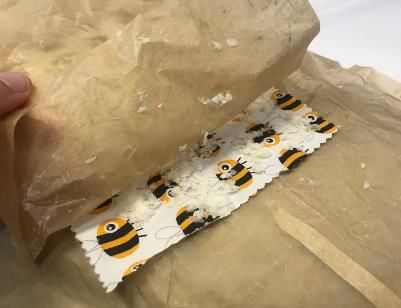
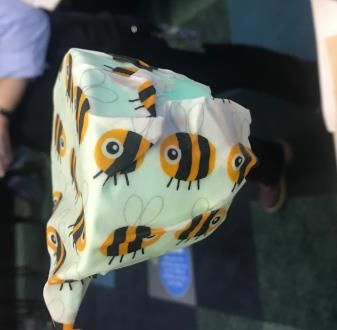
How to Make Bees Wax Wraps
You tube video: https://www.youtube.com/watch?v=RSh7sX3WEuk
You will need:
   • Apron
   • Fun colourful fabric
   • Table cover/butchers paper
   • 1 x grater (use largest side)
   • Bees Wax (best quality available)
   • 1 x stainless steel shearing scissors
   • Iron
   • Brown non-stick Baking paper
   • Wooden board or metal tray.

Step 1: Turn on Iron to medium heat and let warm up – safely

Step 2: Lay out butchers paper/newspaper or something on the table(s) so
you do not get wax on them. Use a wooden cutting board or a piece of flat ply
or back of metal baking tray as a flat hard surface to iron onto.
Step 3: Grate wax using grater into a pile

Step 4: Cut fabric squares with shearing scissors using cardboard stencils (there is
enough for two small ones or one big one per person)
Step 5: Lay the fabric on a piece of baking paper and sprinkle a small handful of wax
of the top of the fabric all the way to the edges (use up the melted wax on brown
paper)
Step 6: Place a piece of baking paper over the top of the fabric and wax
Step 7: Use iron to run over the top of the fabric and baking paper firmly until all
melted in – make sure to get wax all the way to the edges
Step 8: Remove baking paper and let the wax wrap air dry by waving (this will only
take a minute)
Step 9: Ta-da!! You now have a beautifully created wax wrap!
You can clean the iron by rubbing it with a cotton rag while hot until clean, to clean
grater run it under boiling water and rub with clean old cotton rag/ towel (not down sink).
Today you’ve learnt a fast and easy method of making your own wax wrap.
If you’d like to make stickier wraps, here is one suggestion:

Ingredients (yield approx. 3 medium wraps)

   •   50grams Beeswax
   •   10grams Pine Resin
   •   1 teaspoon Jojoba or Coconut oil
       (The ratio for Pine Resin to Wax is 1:8 so adjust as needed).

You’ll also need:

   •   Material (thin cotton works well)
   •   Pinking Shears
   •   Iron
   •   An old saucepan & spoon (silicone types work well as they don’t get hot during use)
   •   Baking tray
   •   Alfoil or Baking Paper (Alfoil retains more heat so the wax stays liquid for longer)

Method:
   1. Add the wax to your old saucepan and start it melting on medium to high heat. Keep an eye on it
      and adjust the temperature as needed to keep it melting but not boiling.

   2. Once the wax is almost two thirds melted, add the Pine Resin and Jojoba oil. Stir well and drop the
      stove down to low heat once it’s all melted.

   3. Preheat your oven to a low temperature (e.g. 90degrees Celsius).

   4. Meanwhile, prepare your fabric. Measure and cut to your desired sizes using Pinking Shears.

   5. Line your baking tray with alfoil. Place your first cut material onto the baking tray and move it close
      to your saucepan (to reduce drips on your stove top!). Using a spoon, stir the mixture and then
      scoop the melted wax mixture coat your cloth in the wax mixture.

   6. Pop the tray with wax-painted cloth into your heated oven for about 2 minutes. This time will
      probably shorten as you do more as the tray heats up.

   7. Remove from the oven and quickly pick up one corner of your wax wrap. Lift it up and grab another
      top corner so that it remains straight. Allow it to drip and cool over the pan (less than a minute)
      before draping it over a drying rack to fully set.

Congratulations! You’ve made your own wax wraps!! Use them instead of glad wrap on anything except
meat. And don’t use them to heat or cover anything you are cooking in microwave and oven.
Cleaning: Wash with warm (not hot) water with mild detergent and allow to dry. Do not use an abrasive
scourer, just a cloth/soft brush.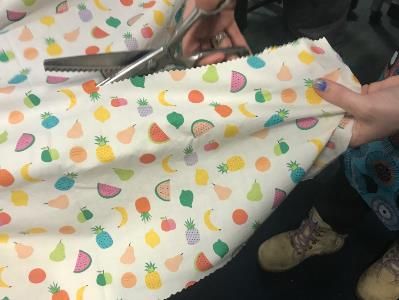
Interp for Bees wax wraps session for positive behaviour change
Message: Bees work hard to make wax – use it well and sparingly.
Why are we making Bees wax wraps today?

To replace cling film^ or the need for plastic containers to store half used food and ultimately reduce food
waste from your fridge.*
(^ not to be used to heat food in microwave or oven) (*don’t use on meat products to be safe)
Some interesting facts

   •   The Beeswax we are using today comes from Honey bees not Native Australian Bees (they use
       propolis)
   •   What is it? - a liquid hydrocarbon secreted from about 8 glands along their abdomen (through bee
       magic) They then collect these flakes and chew them into shapes.
   •   Beeswax burns better than paraffin wax or other waxes.
   •   Use a key to scratch the surface of the wax block and if it curls like a pig tail and stays intact it is
       good quality. Australian beeswax is sought after by beekeepers all over the world (least disease and
       chemical contamination – never buy wax from China as they have contaminated their food chain).
   •   Beeswax gets yellower the more it is heated with water.
Some fascinating numbers:

   •   35 degrees – the temp at which bees wax is flexible and pliable and the temperature within the bee
       hive all year round.
   •   Each bee hive has on average 45,000 bees and one Queen. (Bees flap their wings at the door to
       cool the hive in summer to maintain the temperature inside or block the door with their bodies to
       keep heat in if colder outside).
   •   63-66 degrees – temp at which beeswax becomes liquid. 18degrees – temp at which beeswax is
       brittle.
   •   26 -30days = the life span of a single worker bee.
   •   Making beeswax is a very energy intensive activity for bees. Every worker bee (only females) does
       it. They will do it from their 2-9th days of life when they are capping the baby bees off to pupate and
       from day 12-22 when they are making new cells of wax cells for the queen to lay eggs in or for the
       storage of honey and pollen just before they themselves become forager bees in their last week of
       life.
   •   500g of wax takes the energy of 450g of honey which takes an average 40,000km of bee flights to
   •   33,000 000 flowers!!!
   •   This is why it retails for approx. $40/kg be wary of cheaper wax – it may be adulterated with
       something else.
So as you enjoy your wax wrap be mindful of the hardworking bees who brought you this bee magic.
While we may not use more than 10g of wax per wrap each, they have worked hard for it so please
support the bees by letting the clover and dandelions grow in your lawn (especially over winter) and herbs
and sunflowers grow in your garden.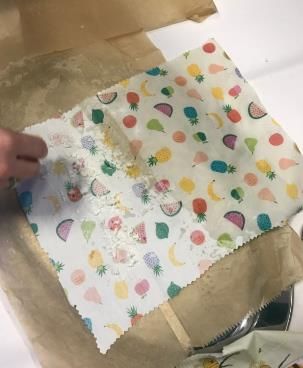
You can also read